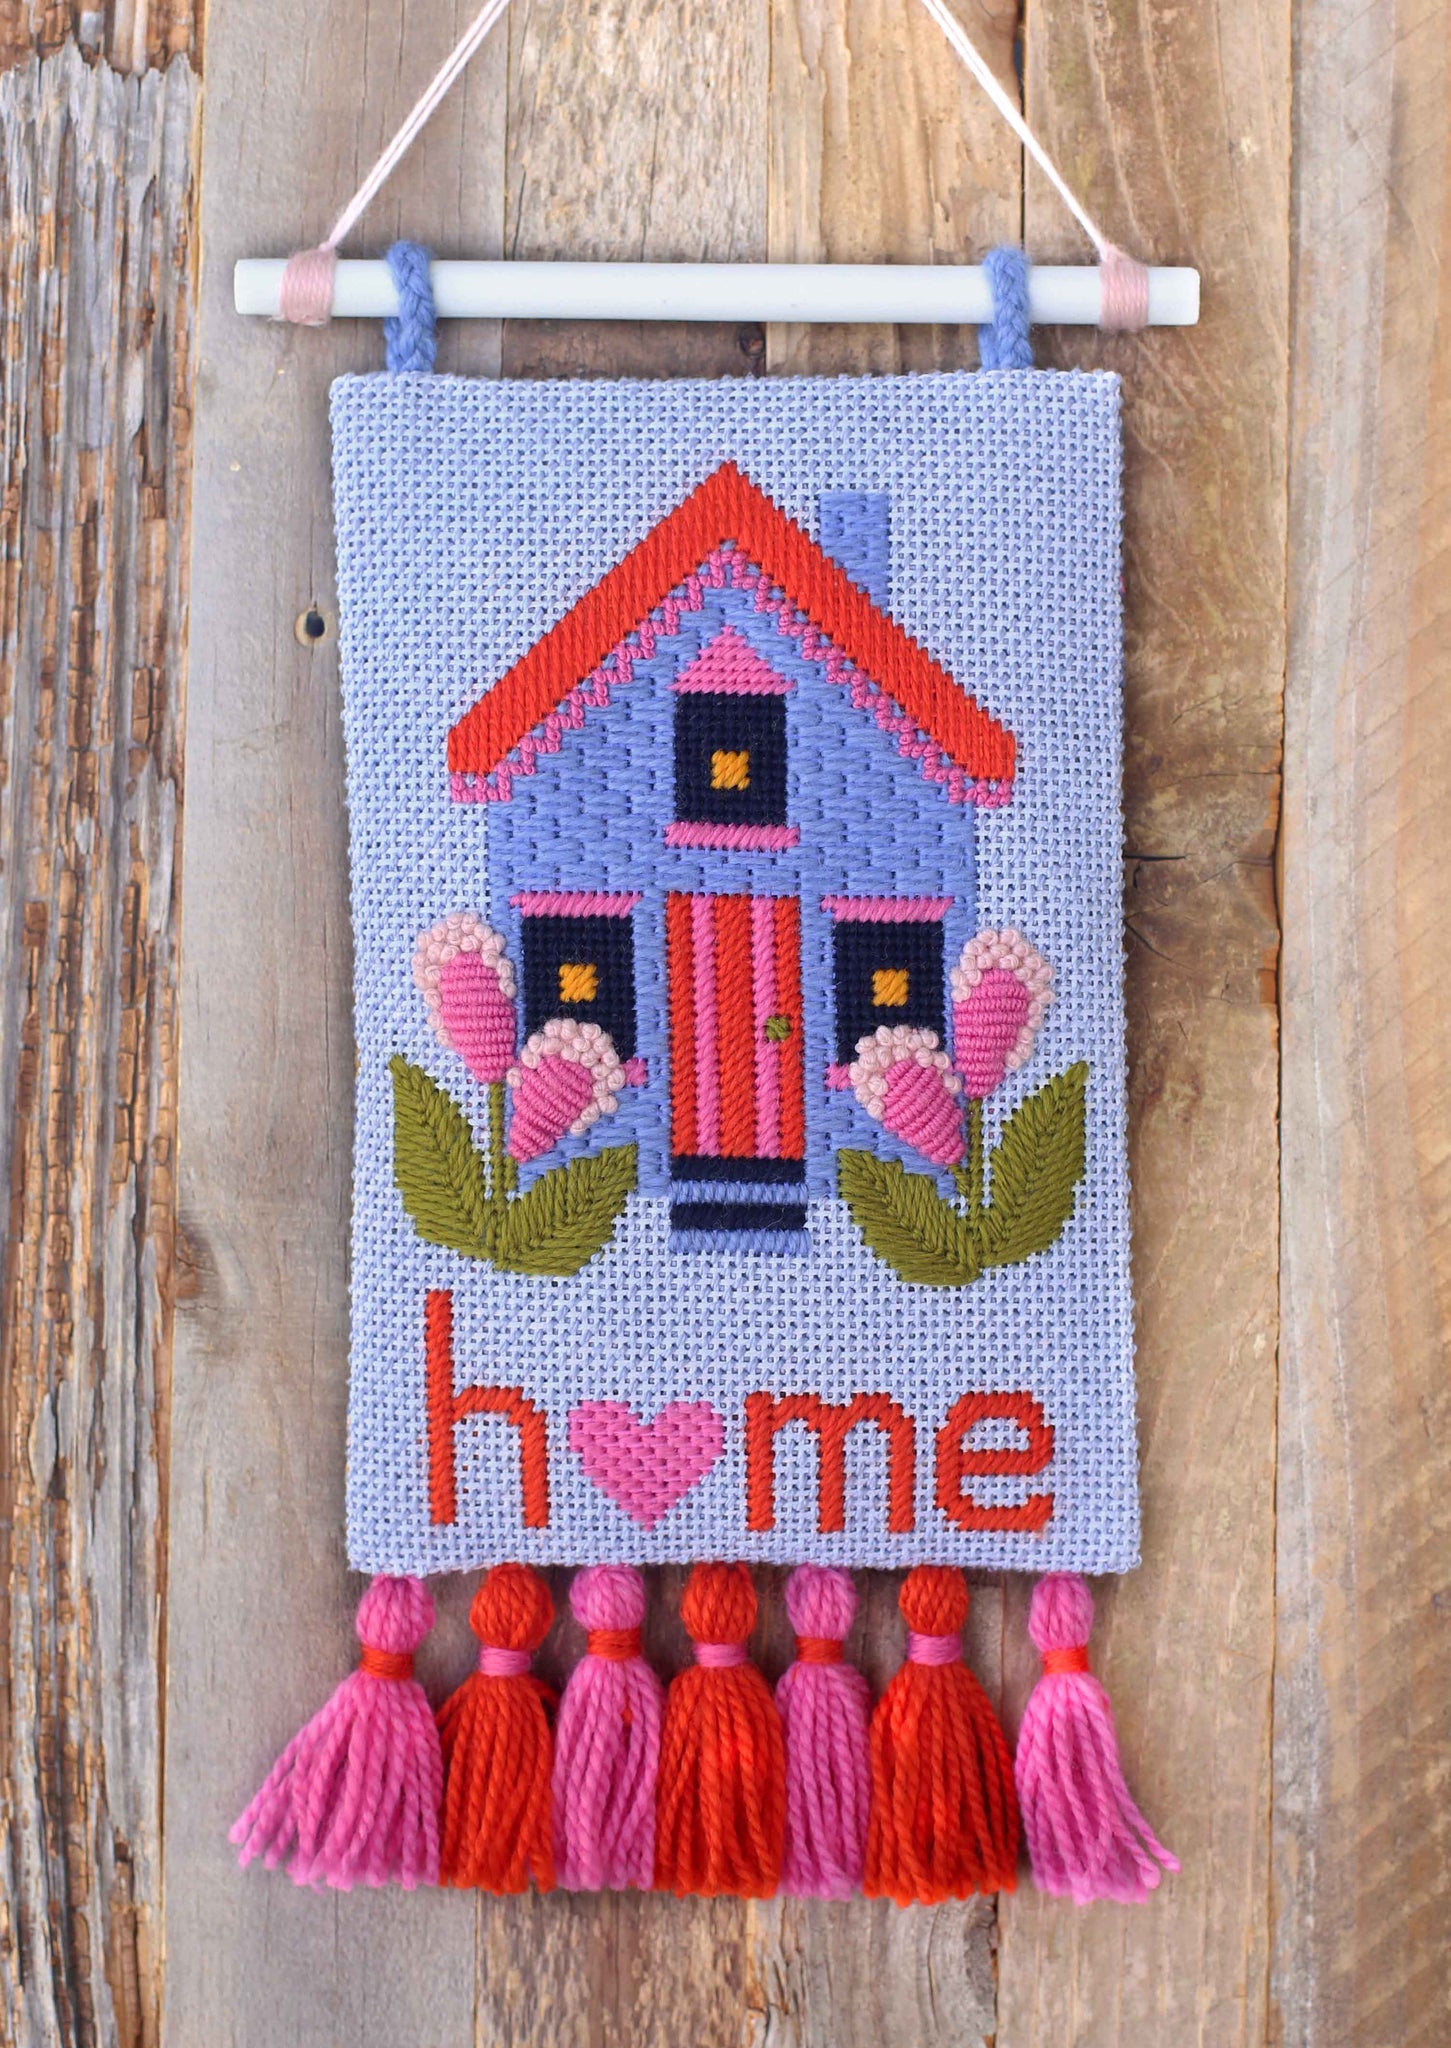
How to make a Needlepoint Wall Hanging
How To Make a Needlepoint Wall Hanging
Supplies
- Finished needlepoint canvas
- Batting (I used 1/2 inch thick)
- Backing fabric
- Tacky glue
- Needle, thread, and pins
- Fabric glue (optional)
- Painted wooden dowel
- Yarn (or thread of choice to create tassels)
- Ribbon or thread for top loops
- Thread or string
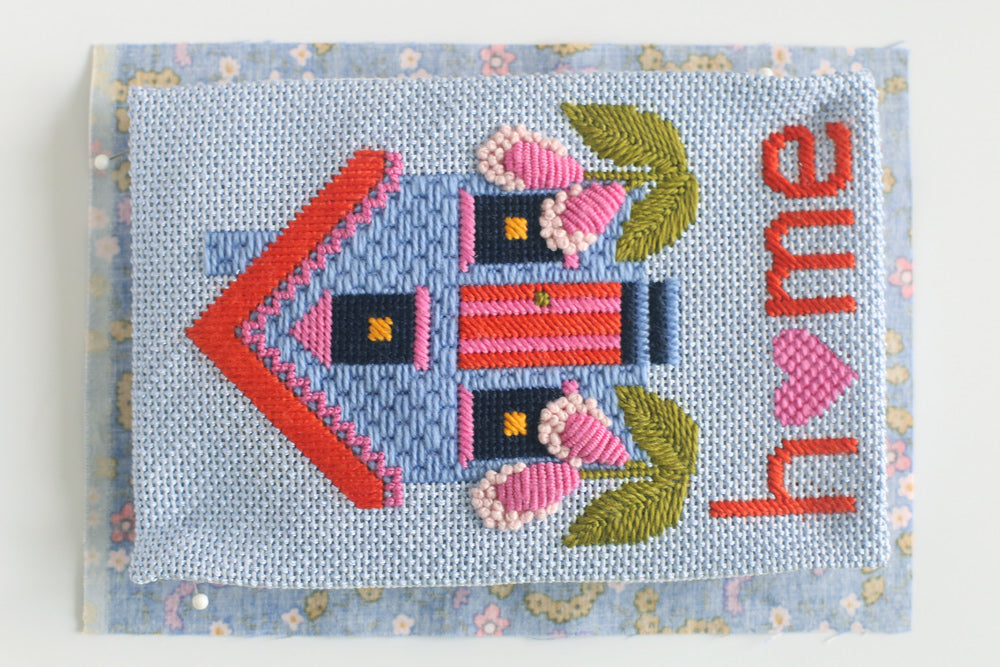
1. Cut off the excess canvas leaving about 3/4 of an inch around the design area. Remove each corner by making a diagonal cut, making sure to leave about 1/8 inch of canvas next to the stitching.
2. Place your batting on the backside of the canvas. Fold the edges of the canvas over the batting. Using the tacky glue, glue the folded corner canvas tabs together. Put a dab of glue on the canvas at the very tip of the corner, next to the stitching. Tuck that little bit of canvas under as much as possible. This will help ensure the stitching doesn’t unravel and create a neat edge. Pin in place until dry.


3. Measure the finished size of the canvas. Take that measurement, add an inch for seam allowance, and cut your backing fabric to match. Iron the fabric then iron a half inch seam allowance all the way around the rectangle.

4. To create the mitered corner: Open the ironed seam at the corner, fold down the corner creating a triangle (you’ll see an ironed square at the center of the fold), refold the seams - this will create a perfect corner. Pin in place and repeat.

5. Align your fabric over the batting and backside of the canvas. Pin the fabric in place around the edges: First pin the corners, then pin at the center of each side, finally fill in with 2 - 4 more pins along each side.


6. Using your 4 ribbon, yarn, or strips of fabric, create a loop (I used leftover wool thread, braided together to create my loops). Make sure the wooden dowel is able to fit through your loop. Place the loop between the canvas and fabric, about half an inch from the edge. Glue in place ON THE CANVAS side of the loop (if you glue on the fabric side it will seep through the fabric). Let dry.

7. You can either sew the canvas and fabric together or glue together. To glue simply use strong fabric glue and let dry according to the instructions on the bottle.
8. To sew using an Invisible Stitch: Tie a knot and anchor in fold of the fabric. Push the needle into the folded edge of the canvas, directly opposite or slightly behind the knot. Take the needle along the folded edge about a quarter inch then push back out. Position the needle in the fabric directly opposite to where you came out of the canvas, take the needle through the fold about a quarter inch, pull tight and repeat. At the end, tie off your thread. When you reach the ribbon loops, make sure to catch them in the stitching for extra strength. NOTE: If you have one, use a curved needle, it can make sewing canvas much easier.

9. Create four pink tassels and three orange tassels (see photos below).
1. Create a 4.5 inch loop of thread.
2. Tie a piece of the same color thread around the center of the loop, making several knots.
3. Lay a 6 inch piece of coordinating thread across the tied loop.
4. Fold the loop in half over the coordinating thread.
5. Wind the coordinating thread around the top of the folded yarn, catching the end of the thread and creating the neck of the tassel.
6. Use a needle to take the end of the coordinating thread down through the neck of the tassel and out the skirt. Make a basic overhand knot to secure.
7. Cut through the loops in the skirt and then trim evenly to the desired length (mine are 2 inches long).

10. Pin the tassels onto the bottom edge of the sewn canvas. Once positioned, sew the tassels to the canvas. Attach the tassels by their top loop, using two stitches (see Ill. 2).


11. The dowel should be at least an inch wider than your canvas. Cut several lengths of string or yarn (depending on how thick you want the string to be). Wind the lengths several times around one end of the dowel. Tie the two lengths together several times into tight knots. Slip the dowel through the ribbon holders. Find a center point/preferred string height between the dowel, and repeat the winding and tying on the opposite side. On the backside of the dowel, thread the yarn ends onto a needle and push the needle through the wound thread, securing the ends. Clip the ends then dab them with some tacky glue for extra security. Let dry.


Hang on a wall and enjoy your amazing work!!