Your Cart is Empty
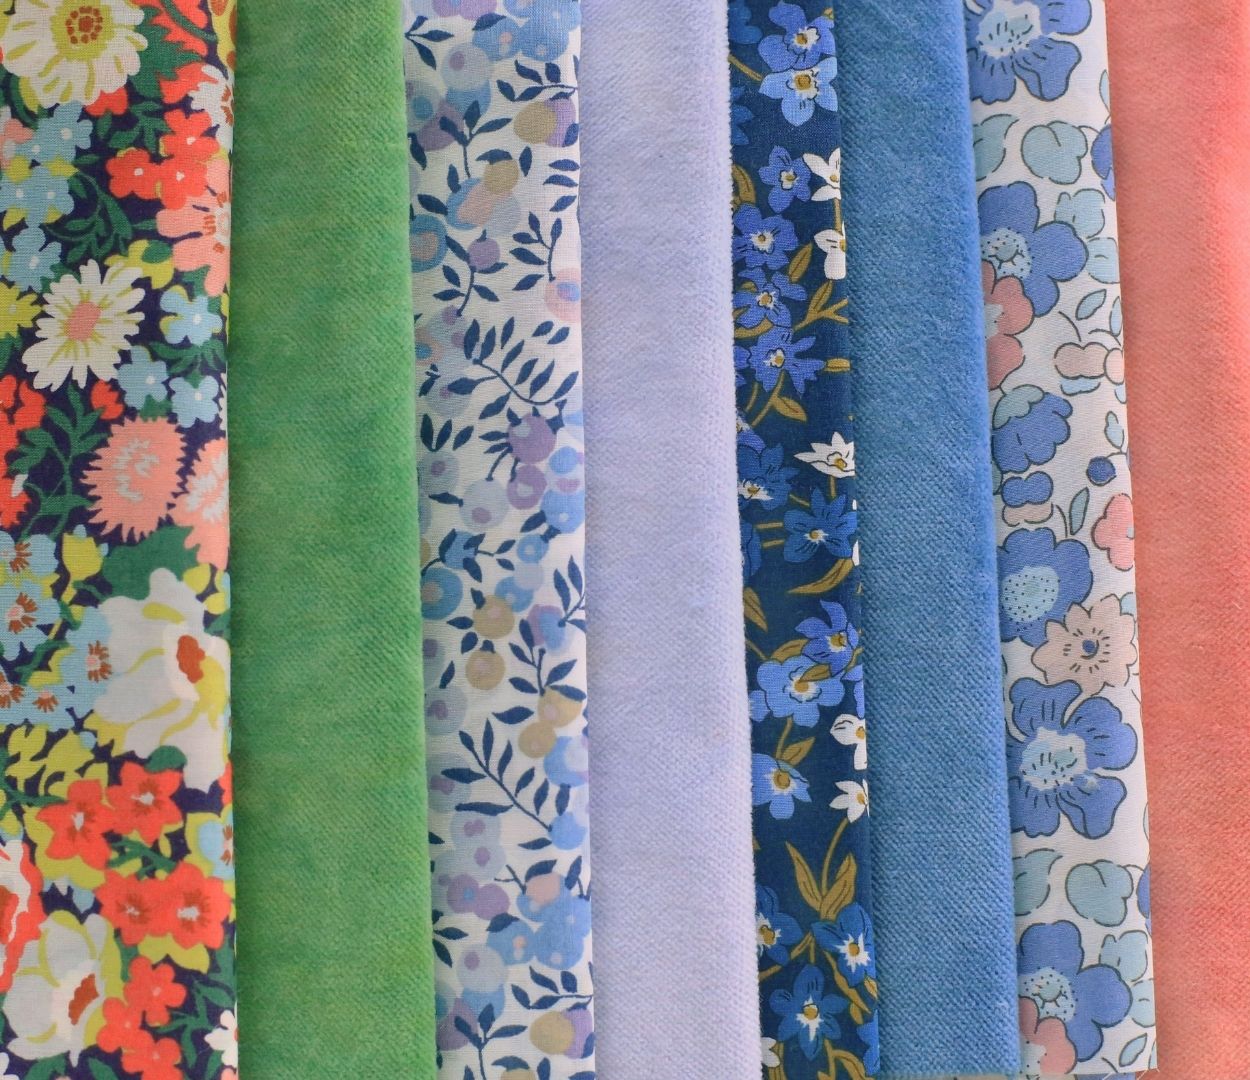
Needlepoint canvas is a bulky material which becomes bulkier when stitched. When you wrap a stitched canvas around a finishing board shape the bulkiness will increase the size of the shape. The thicker the stitching - the greater bulk and size increase. (For example - if you stitch an ornament background in a light stitch with a tiny strand of thread, you’ll add very little bulk. If you stitch an ornament in thick wool with a full coverage stitch, you’ll add quite a bit of bulk).
Where does interfacing come in? If you’re working with a very thin fabric (such as Tana Lawn) for the backside of your ornament - once you wrap the thin fabric around the finishing board shape it may not match the size of the front of your ornament which is wrapped in bulky canvas. A great way of dealing with this size discrepancy is to add interfacing to the thin fabric. Interfacing is used to add “strength and body” to material. Plus - when working with a thin fabric, the added interfacing bulk makes sewing the ornament front and back together much easier.
Interfacing varies in thickness so you can suit the interfacing to your specific project. I’ve found a “craft extra firm” weight interfacing to be a good thickness for finishing lightweight fabrics such as Liberty of London Tana Lawn.
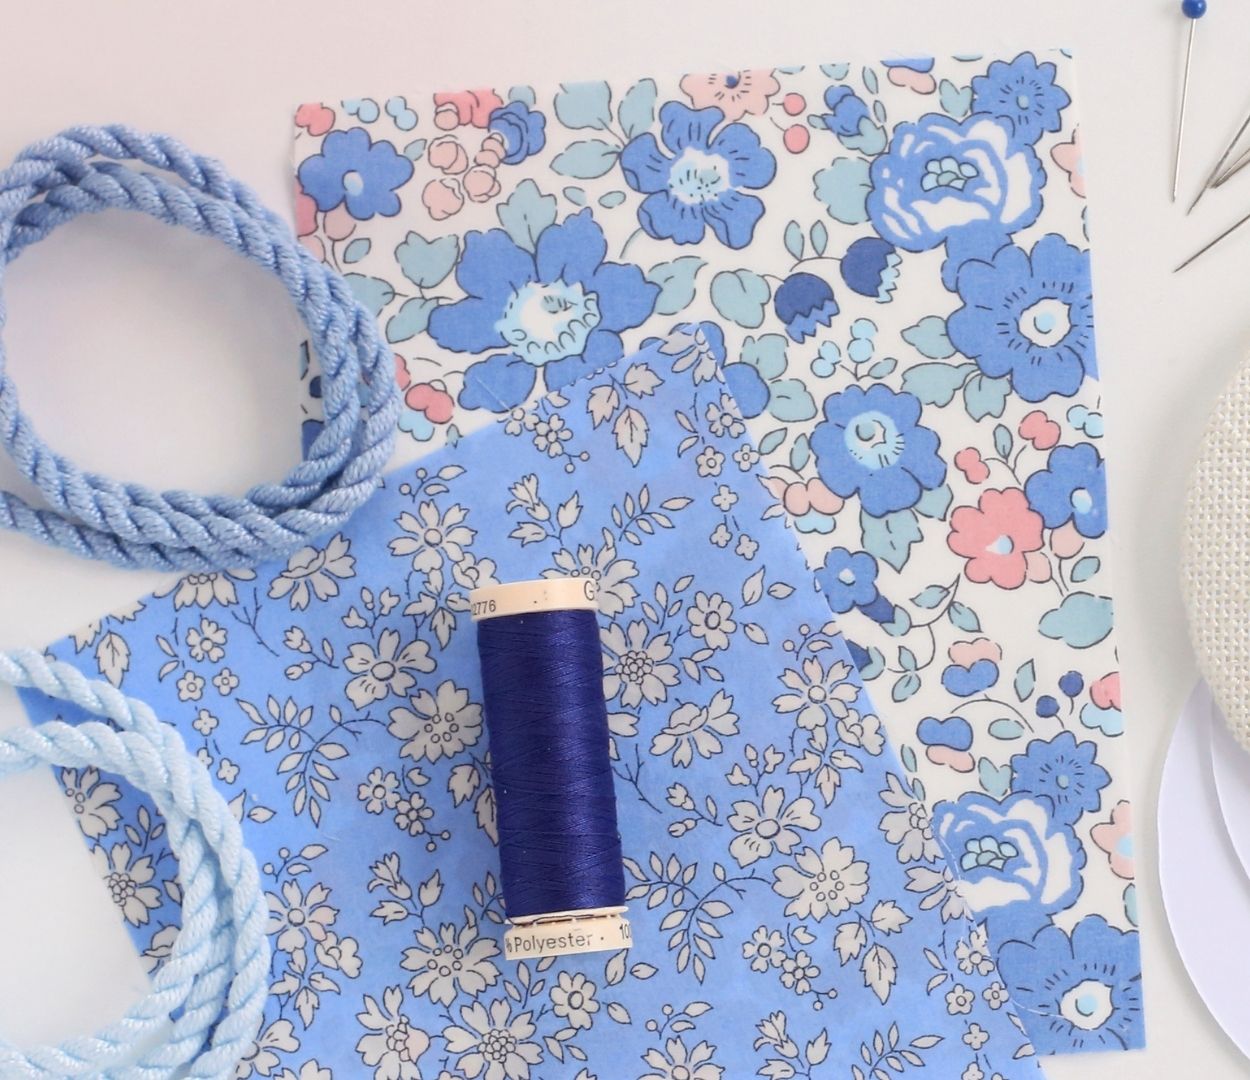
Interfacing can also be helpful when you’re working with a slippery or slightly stretchy fabric such as silk velvet. It firms up the fabric and makes it easier to work with. I like light to medium weight interfacing (a thinner interfacing) when you’re trying to get rid of slipperiness or stretch but don’t need added bulk.
I like fusible interfacing! One side is coated in adhesive. You simply iron the coated side of the interfacing to the wrong side of your fabric using an iron set to “no steam.” It only takes a couple seconds to adhere.
Interfacing comes with instructions on the package - always check the package instructions!
You will need:
An iron
1. Cut your interfacing just slightly smaller than your fabric.

2. Heat your iron to the hottest setting it will go without damaging your fabric, and set to “no steam.”
3. Place the adhesive side (the side with little glue dots) down onto the wrong side of your fabric.

4. The package instructions suggest placing a pressing cloth down onto fabric and interfacing before ironing (not shown in the picture).
5. Place the iron down onto the fabric for 10 - 15 seconds. Lift and press (without too much back and forth motion at first) until all the interfacing is bonded to the fabric.

TIP: When you start glueing the fabric tabs down to the board, because the interfacing has been cut into little tabs it does have a tendency to separate from the fabric. Just use extra glue to get it all stuck down and adhered to the board.


Comments will be approved before showing up.


Suzie Sharp
April 27, 2023
I took the class on different shape ornament. The glue does not want to adhere to foam board without too much glue and lots of clips which makes it so hard to pull off. Is mat board better and what do you cut it with it seem so hard. Thanks so much for your help