Welcome to my mini class on creatively embellishing a needlepoint ornament! I'm so excited to share not only the step by step instructions but also my creative process with you!
I can't wait to see what you create! To share comment, hashtag #abigailcecileneedlepoint, tag me on social media, or shoot me an email!
XO Abby
(The step by step portion of the video starts at minute 4:38). Scroll down for step by step written instructions.
Notes on choosing embellishments
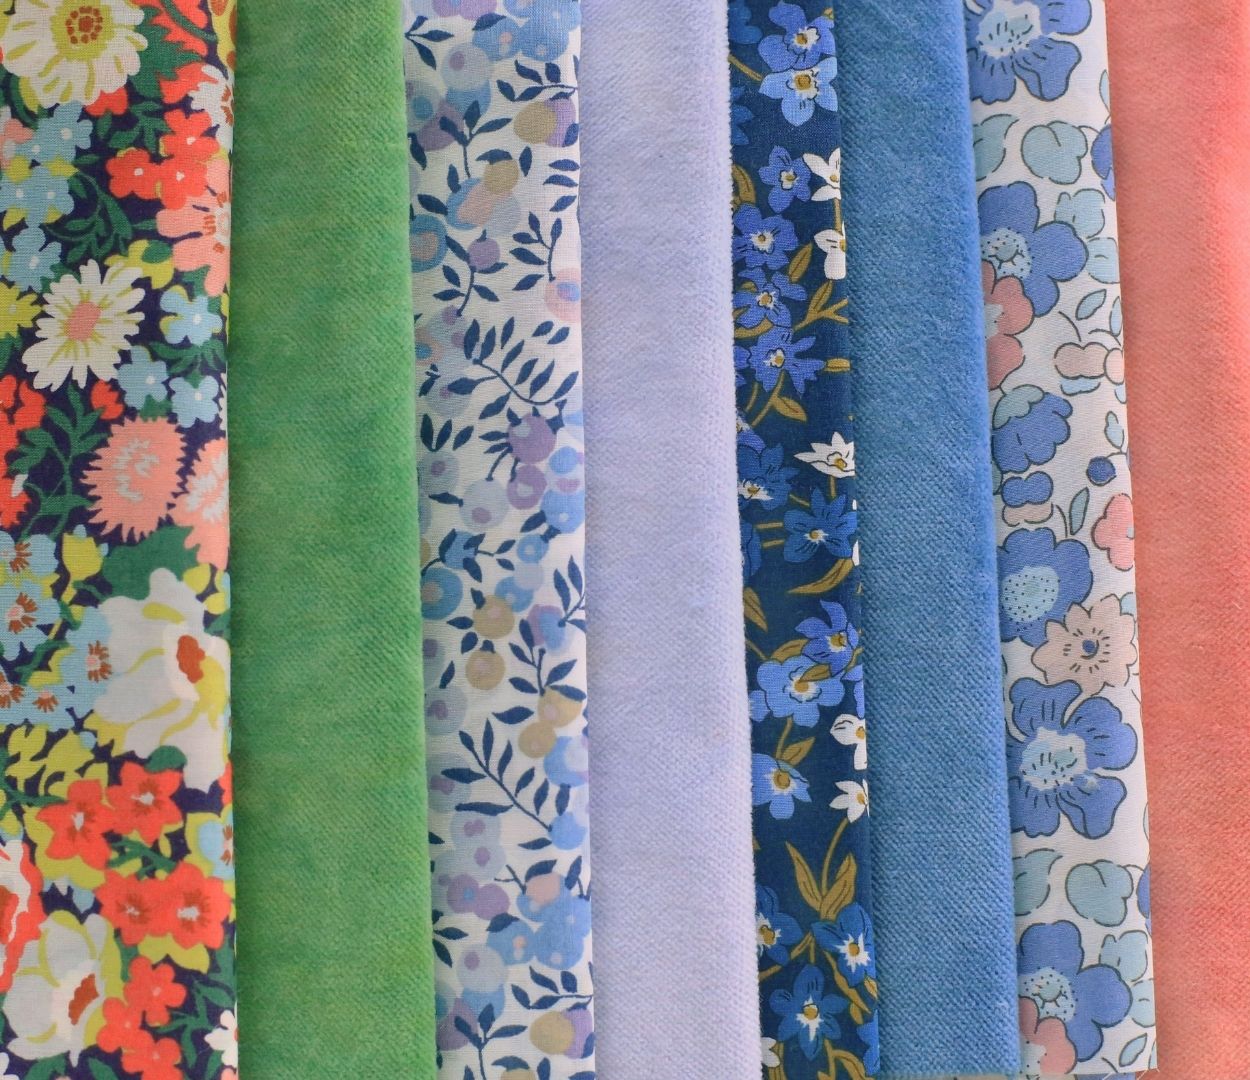
You will need to pick out a ribbon and decorative embellishments (like fake flowers) for your ornament.
Everyone has their own style! Style is a word that confused me for a long time, what I mean by style is that every individual person is going to gravitate towards certain colors, certain looks, and certain feels. You might not be aware of your style! But you do have preferences. For instance - because I design a lot I know that I absolutely love periwinkles (which are almost blue purples) but I don’t like like royal purple. I just can’t stand it. That’s just me - I don’t know why but I never end up stitching with that color. That’s an example of my personal style...periwinkles over royal purples.
When it comes to picking out embellishments - there’s no right or wrong, everyone is going to chose something different. So if you’re intimidated by choosing ribbon and embellishments, start from that place. Know that what ultimately matters is whether or not you love the ornament!
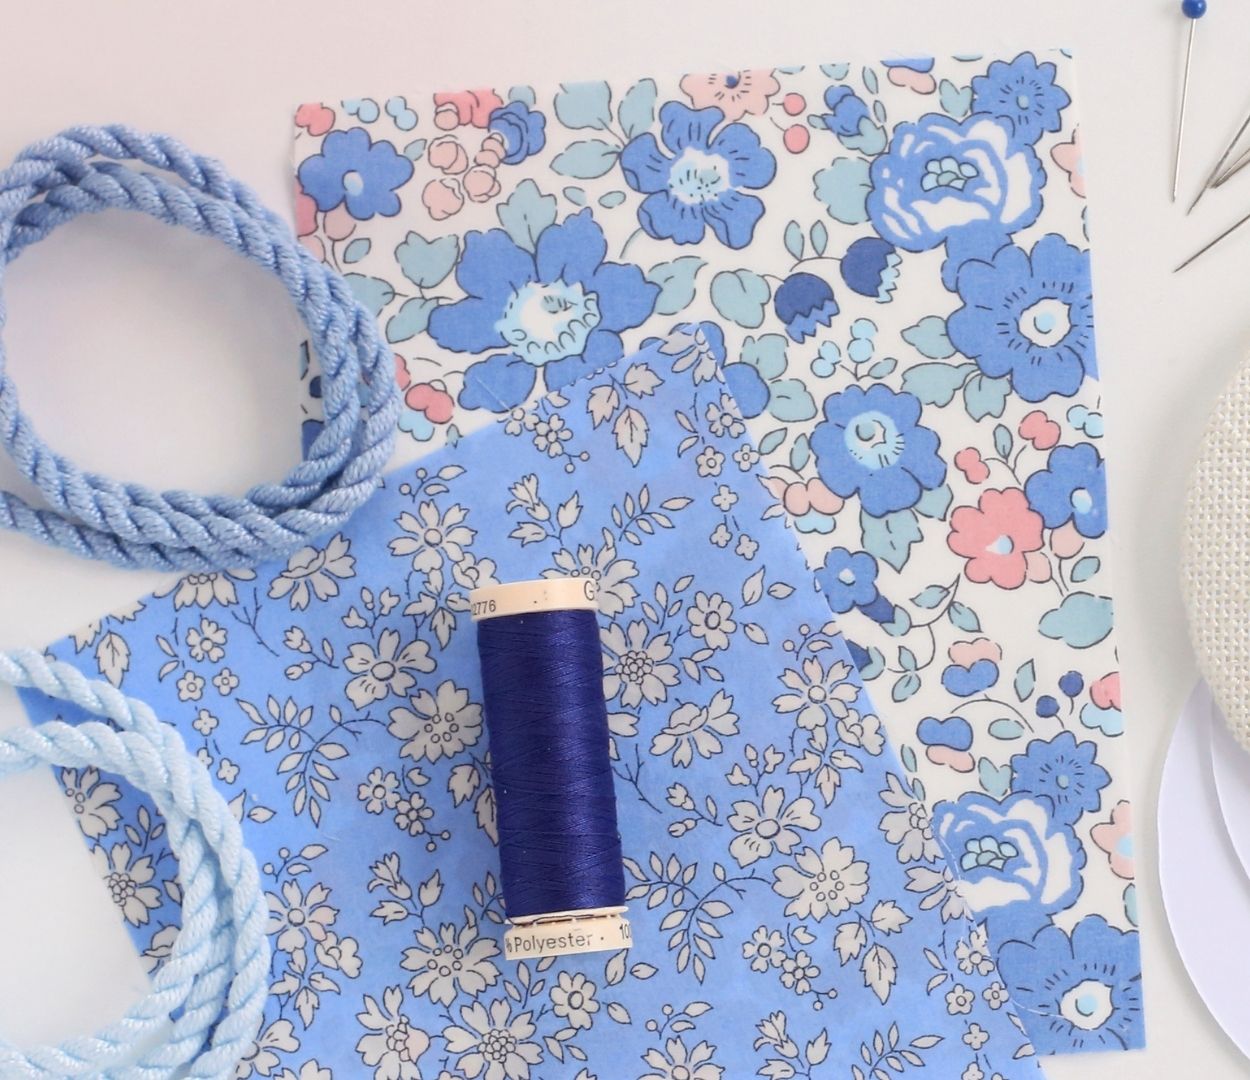
To begin, I like to pull out my stash of ribbon and embellishments (if you don’t have a stash then do this at the craft store). This may sound a little cheesy but sometimes I need to take a deep breath and just let go of having to make it work! Whether that’s having to find the perfect color, having to make the ornament perfect, I need to take a breath and simply allow myself to play. Grab colors of ribbons that you’re drawn to, hold them up to the ornament, and literally see if they make you happy!
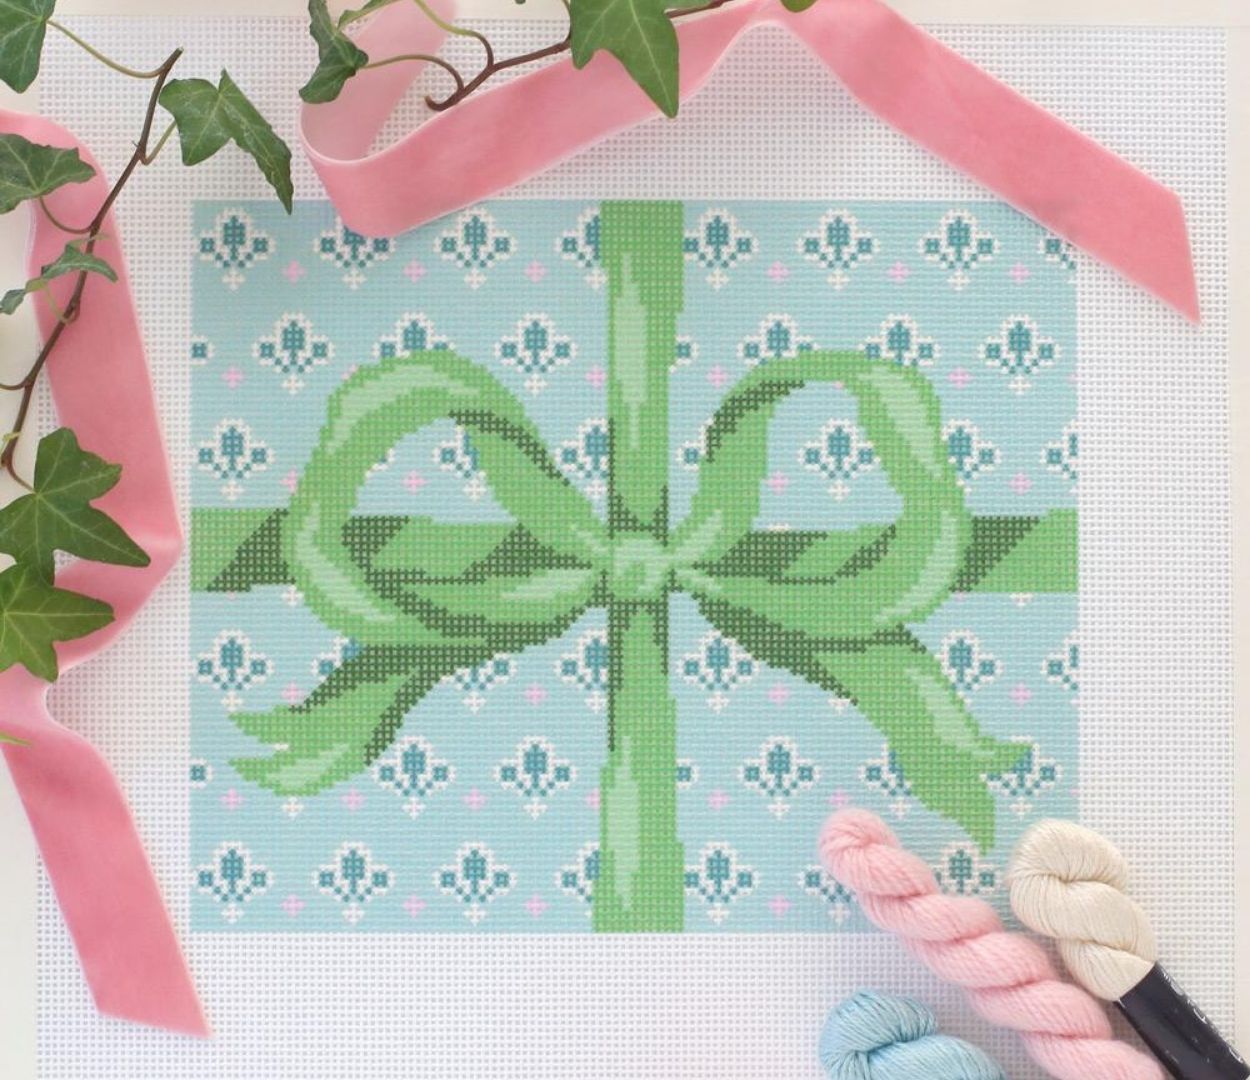
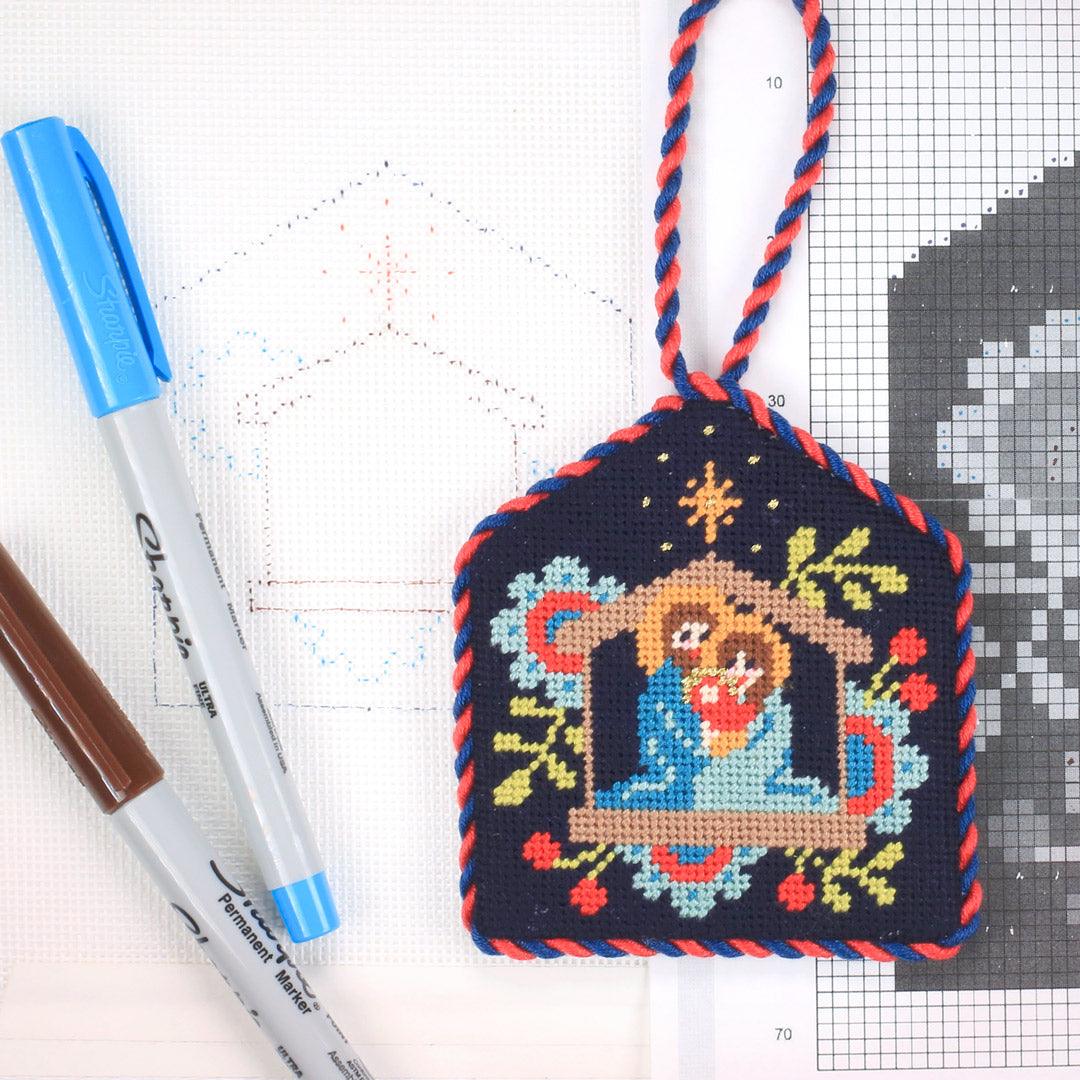
If that’s not enough to go on, you can also start by picking out the colors in the ornament itself. The ornament I’m working with has periwinkle, bright orange, and warm green. These are great colors to start playing with because they’ll automatically “work.” That doesn’t mean you’ll like them…you’ll have to test and see. But it’s a great place to start!
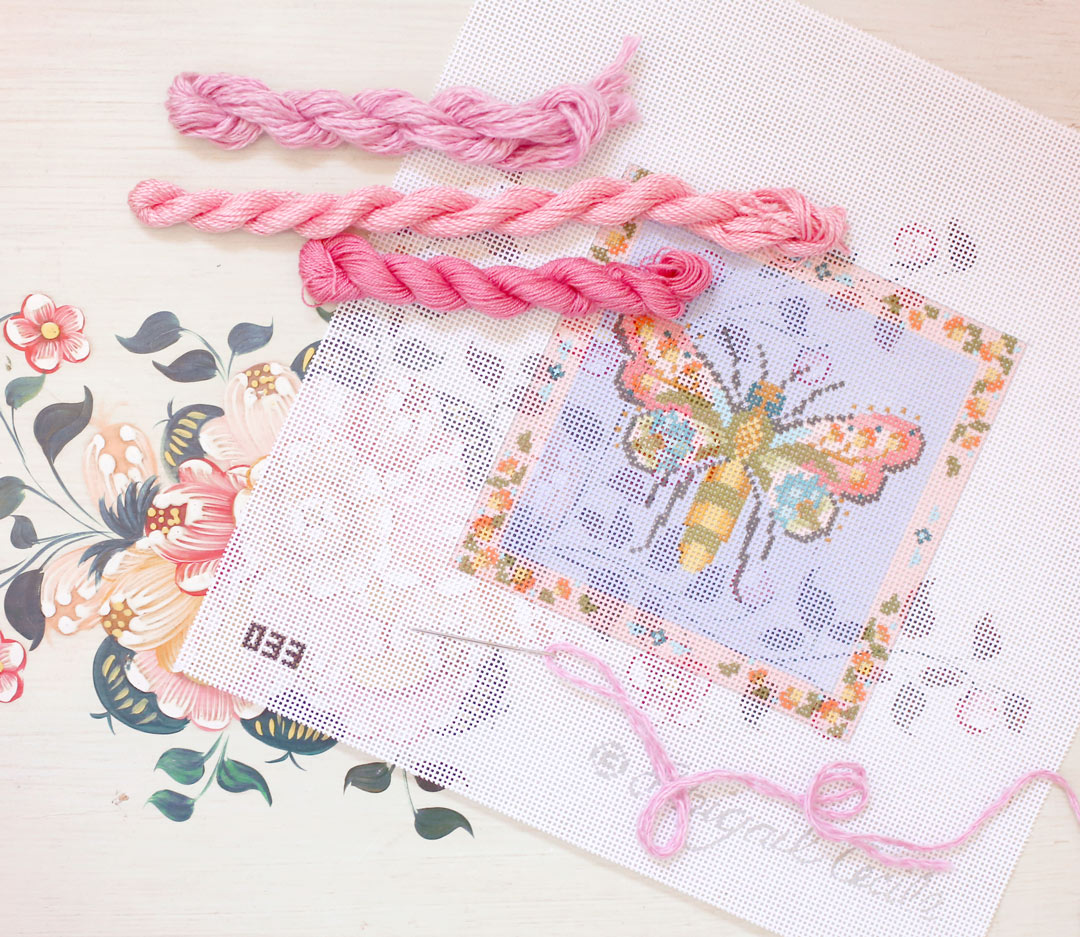
When I approached this ornament I had a very clear image of bright pastel flowers with a silky ribbon, hanging on an Easter tree. I thought, “that would be beautiful! It’s something I could see on instagram, hanging on an Easter tree in a southern style home.” Then I stopped and said “wait a second, what do I want to hang up in my home?” Once I thought “what do I want to create” regardless of what I thought I should create, or what would look nice on social media, I realized I wanted something a little bit more natural. Something that softened the bright orange and periwinkle, and drew it into a more subtle and feminine feel.
So I grabbed a naturally plant dyed ribbon (in a color I adore). It’s cotton and earthier then silk. Notice that while it picks up on the warm green this almost yellow color isn’t in the ornament itself! I tried it out and it made me happy. It worked for me. It might not work for everyone, in fact I’m sure it won’t but it gave me joy. At my local hobby lobby I looked for natural looking flowers. They carry a wide array of plastic and synthetic flowers. While I they might look nice if I were going a different route, they just weren’t doing it for me. I looked for paper flowers, holding the different flower options up to the ribbon and ornament, and again just went with my gut. I chose some sweet white flowers. Even thought there’s no white in the ornament I loved the way the white looked with hints of yellow in the flowers picking up on the ribbon. I grabbed a few different options, tested them out, they were all sweet and took the ornament in different directions. I eventually settled on the white flowers because they’re feminine and delicate. And I’m personally drawn to anything that is over the top feminine.
I hope this gives you a little bit of insight into how I go about choosing embellishments! Start with the colors in the ornament (it’s a great starting place). After that you just have to play and go with your gut. When you hold something up to the ornament and for some reason it just makes you happy - that’s a great indication that you’ll love the final product, love using the ornament, and love seeing it hanging in your space!
Written Instructions
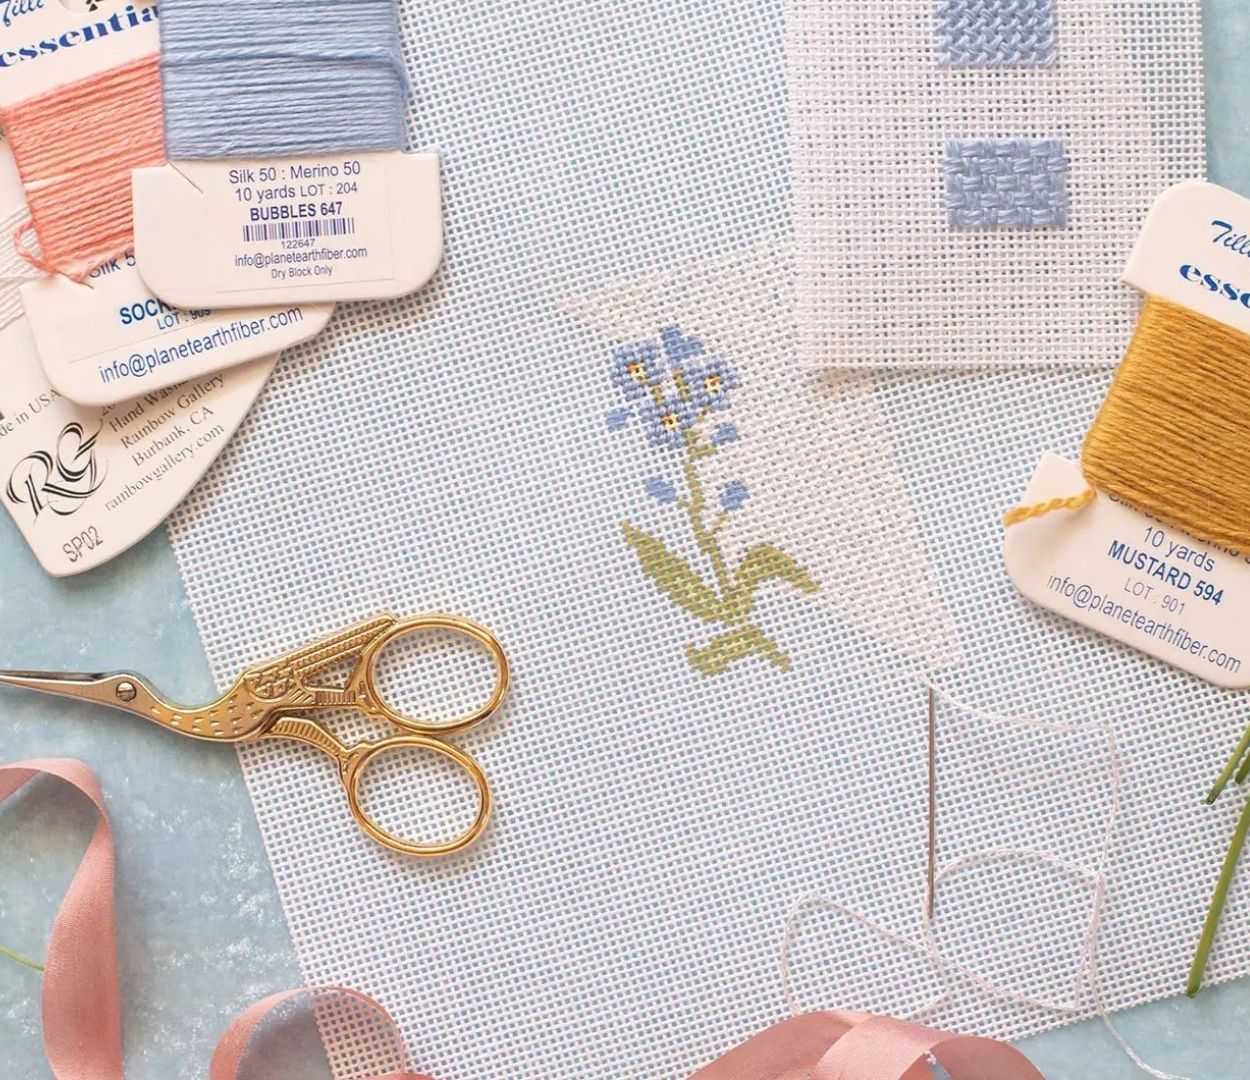
Tools and Materials
A finished needlepoint ornament (this ornament was finished using the techniques taught in my Online Ornament Finishing Class)
At least 17 inches of ribbon
Embellishments such as fake flowers
Invisible thread (I suggest invisible thread but I’ll be using a neutral thread so you can see what I’m doing in the video)
A paper of craft scissors
Embroidery scissors
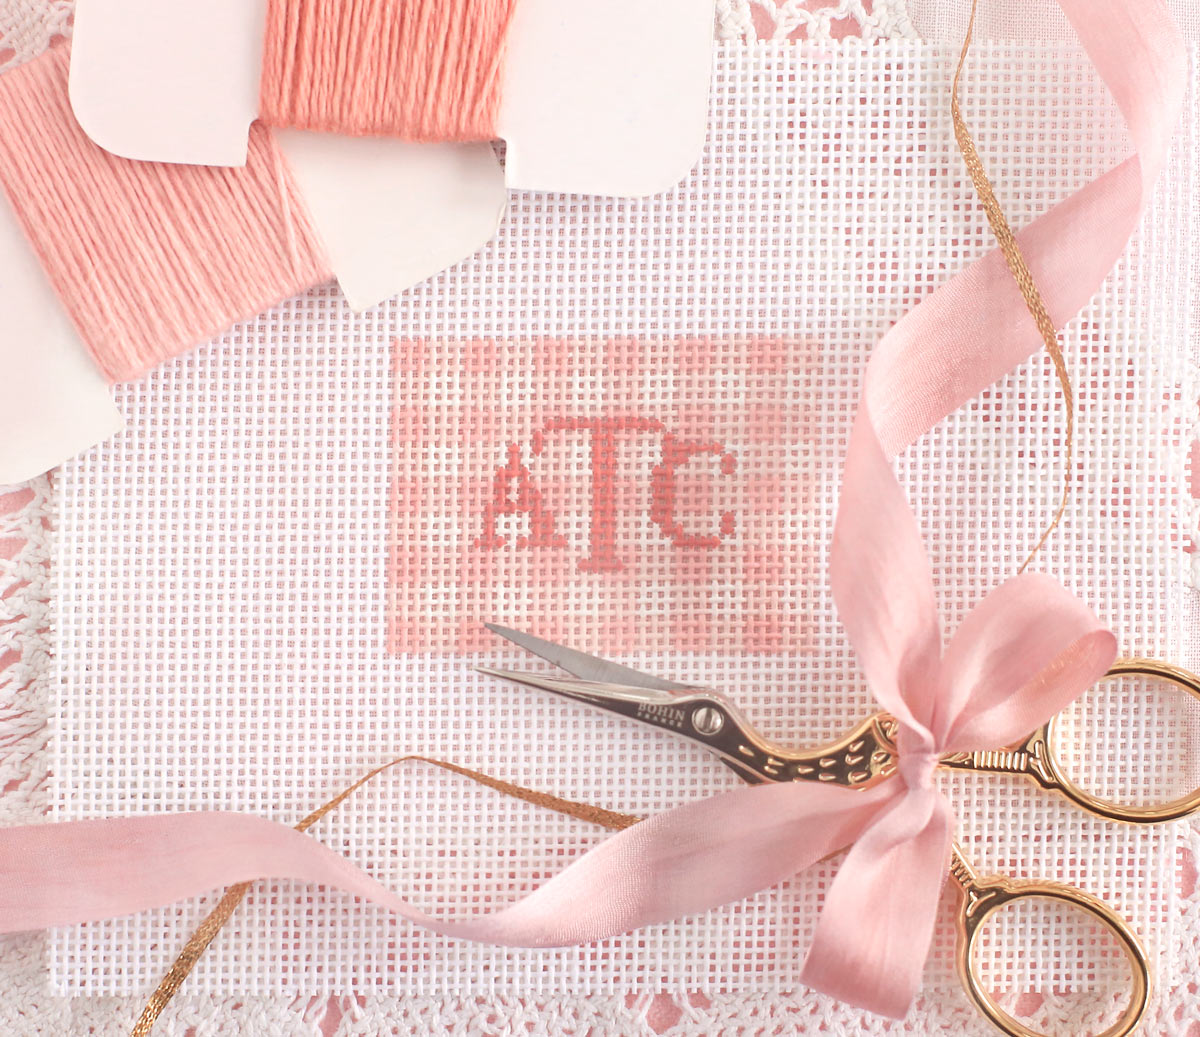
Sharp needle (the needle I’m using is a John James embroidery needle size 7)
Pins
A hot glue gun
If you are finishing my Carrot Garden Oval ornament, cording specifications are listed in the accompanying stitch guide.
1. Begin by cutting a few flowers off of your bunch playing with them, arranging them until they look sweet and you are happy with the arrangement.
I started with the center flower, placed the two buds on either side, then took the other two flowers and tucked them behind and on either side of the center bundle. Test it out against the ornament. You can even tie a quick bow and hold it in front of the posy to see how everything looks.
2. Grab your hot glue gun. Working from the center, place a dollop of glue at the base of the flower, stick the first bud to the central flower. Make sure that you glue the flowers together where the glue will eventually be covered by the ribbon. Continue glueing, flower by flower, until your posy is complete.
3. Take your thread and begin wrapping it around the base of the flowers, over the top of the glue. This will help to hold the posy in place. Wrap until secure then glue down the thread end. Place some glue around the thread. Don’t go overboard but use enough to make sure everything is secure. Take your scissors and cut off the stems just below the thread. Then, holding the posy securely so nothing shifts, glue the bottom and reinforce the sides with your hot glue gun. Hold the posy in place until the glue cools.
4. Position your posy so the bottom lines up with the ornament ledge (the base of the loop and cording). Anchor the thread in the back of the cording. Don’t worry about hiding the knot - the ribbon will cover all the knots and stitches. Tack the posy down to the loop, going back and forth a few times. I pushed my needle through some of the glued areas but you can stitch above the glue by finding a crack in between the flower stems to wiggle your needle through. The posy doesn’t have to be super secure as the ribbon will help to hold everything in place. Tie off your thread.
5. Position your ribbon behind the loop leaving equal amounts of ribbon on each side. Tie the ribbon in a knot. Then tie in a bow. Don’t worry about the bow loop sizes yet, just get that bow tied and adjust afterwards. This may take a couple of tries! Sometimes the bow will tie beautifully the first time, sometimes I have to adjust which side I’m looping over the other. It just depends on what the ribbon is doing that day! Fiddle with the bow until you’re happy with the way it looks.
6. Take two pins and bring one ribbon end gently to one side. Don’t pull it tight but allow it to have a little rise off the ornament. Pin it in place. Repeat on the opposite side.
Using your needle and thread, move the ribbon end out of the way and catch a bit of the surface of the ornament to anchor your thread. Try to go through the canvas, you don’t want to snag your stitching. Come up through the ribbon where it’s pinned, then back down - I find it easiest to go under the cording to the backside of the ornament then go back to gently tie off under the ribbon so all my stitches are hidden. You don’t have to pull too tight, you’re just tacking the ribbon.
7. Trim the ribbon ends to the desired length.
8. My bow was shifting a little bit so I added a dollop of glue underneath the ribbon knot, attaching it to the posy so everything stayed secure.
And you are finished!! We didn’t glue anything to the ornament itself which means if you ever change your mind, you can grab a seam ripper, take out any tacking stitches, and remove and replace the embellishments.
While some stitchers don’t like to use glue on their ornaments (and we’ve avoided having any glue come in contact with the actual ornament) If you want to dive right in and aren’t worried about removing embellishments - you can try hot gluing the flowers directly to the base of the loop!
1 Response
Robin H Bradley
April 27, 2023
Lovely video Abigail ! I’ve been looking to step up my ornaments but clients just say “hanger to match” so I’ve been making something that I pin to the ornament to secure and let the client decide. Hoping they’ll start letting me “play”;)


Robin H Bradley
April 27, 2023
Lovely video Abigail ! I’ve been looking to step up my ornaments but clients just say “hanger to match” so I’ve been making something that I pin to the ornament to secure and let the client decide. Hoping they’ll start letting me “play”;)