Your Cart is Empty

Tapestry (also called needlepoint) is such a fun and relaxing craft!… But what do you do with the project once it’s finished? I’ve come up with a simple, no sew way to turn your stitching into a cute tag. It would be darling tied to your purse or project bag.
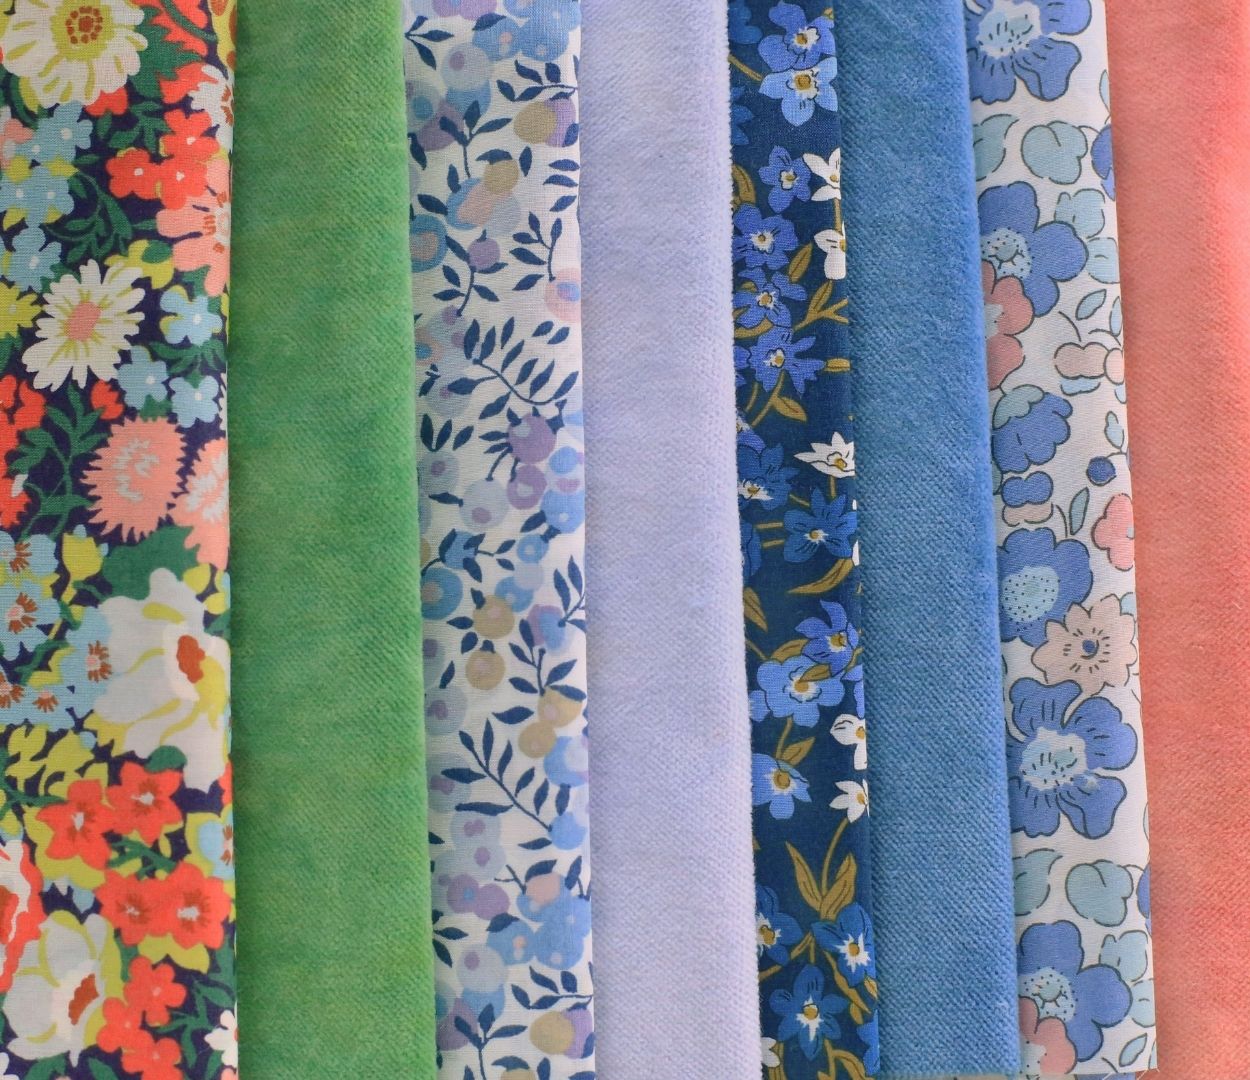
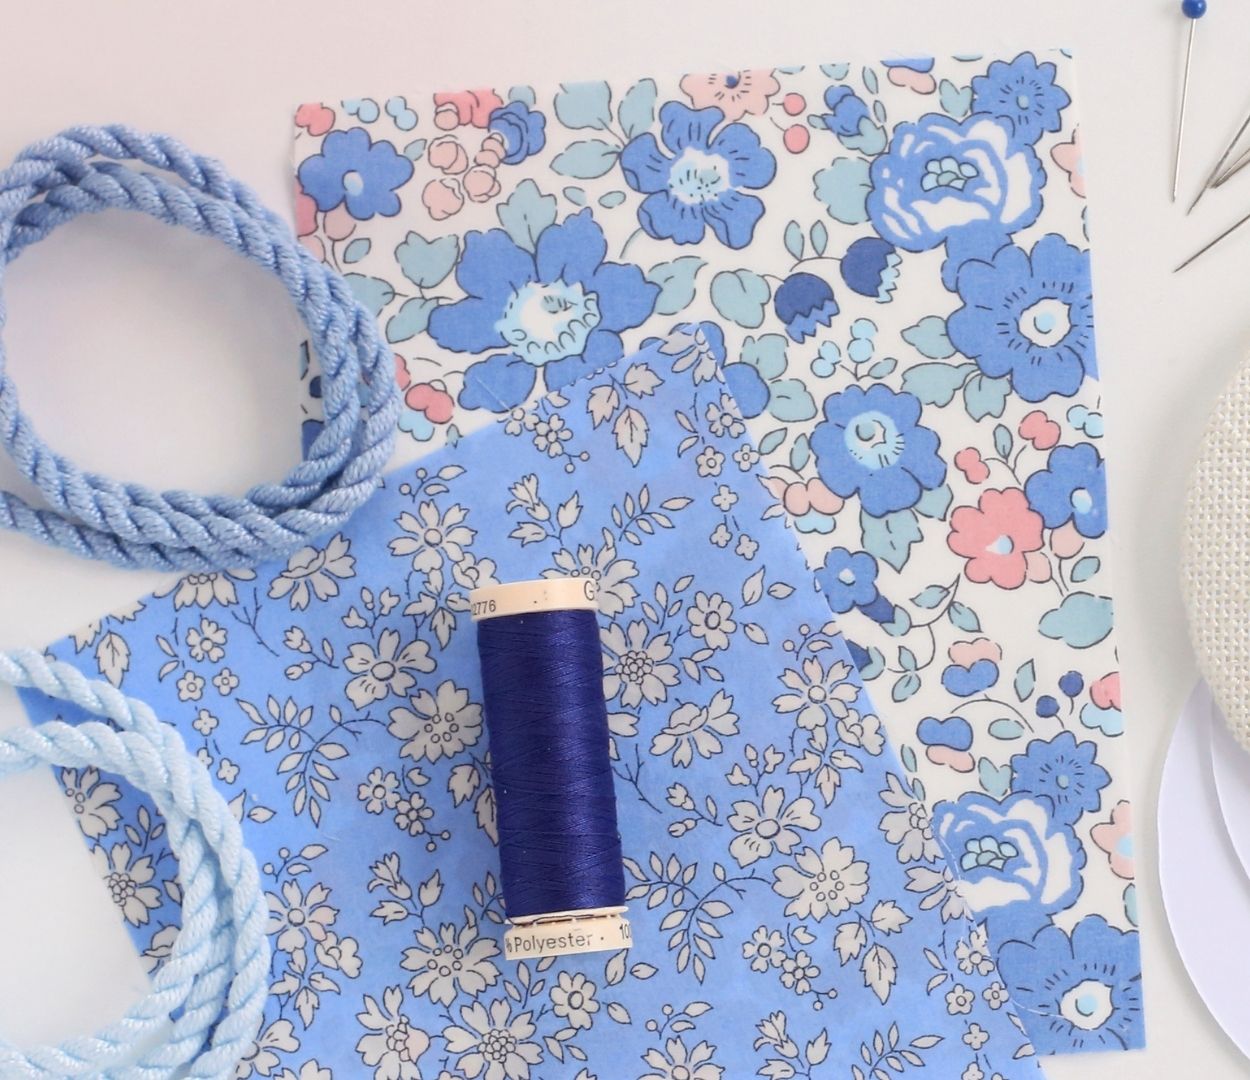
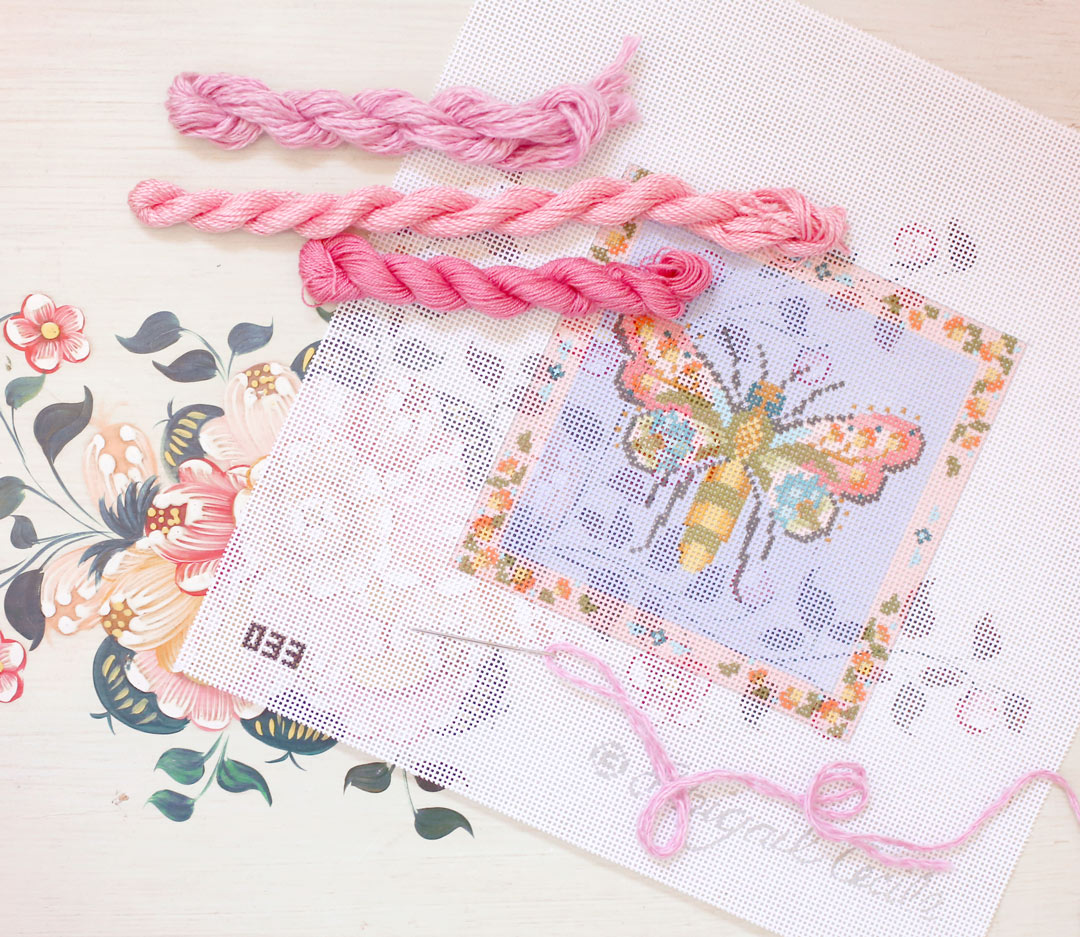
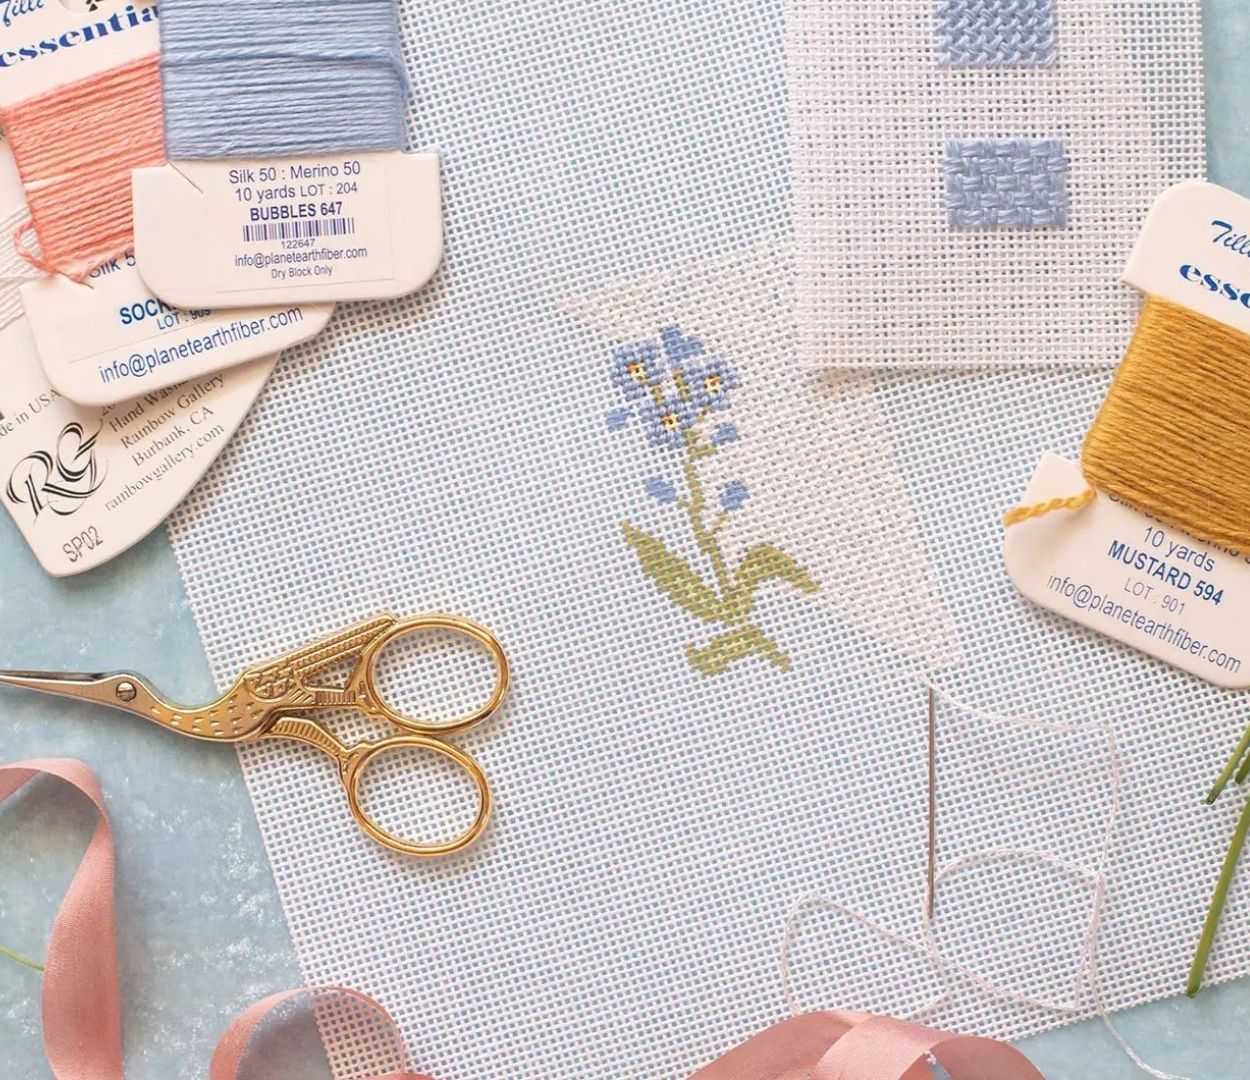
You could use any little needlepoint project. Just adjust the dimensions of the tag and cutout to fit your own stitched piece.

1. Iron the adhesive rectangles to the backside of the leather rectangle and fabric rectangle. NOTE: Read and follow the ironing instructions for the particular brand of fusible you are using.


2. With the marking pencil, draw a square just shy of 1.5 x 1.5 inches in the center bottom of the leather rectangle. Mark a straight line in the center top. Using a razor blade, cut out the square and line. Round the edges of the line if possible (this is pretty small and fussy, do your best but don’t sweat it).

3. Peel off the paper backing on the adhesive attached to the leather and fabric. Place your robin behind the leather, centering it in the square cutout. Place your fabric behind the leather and robin, creating a sandwich with the adhesive sides facing in. Holding your sandwich in place, iron until the fusible has set (I found it best to iron from the back (fabric) side as I didn’t want to damage the leather. However, I did iron the leather briefly on a lower setting to make sure the fusible had set all around. I recommend test ironing the leather beforehand). NOTE: In the photo I’ve already pinked the edges of the fabric, ignore this as I found it much easier to do in the next step.

4. Cut out the fabric in the top of your tag that is now covering the leather hole. Using pinking shears, cut all the way around your tag. Thread your leather tie though the hole, then knot.
Enjoy your beautiful work!
Comments will be approved before showing up.